PlatformIO is a collaborative platform for embedded developments. We will detail here the programming of a Raspberry Pi Pico with the Visual Studio Code editor and the PlatformIO IDE.
Installation
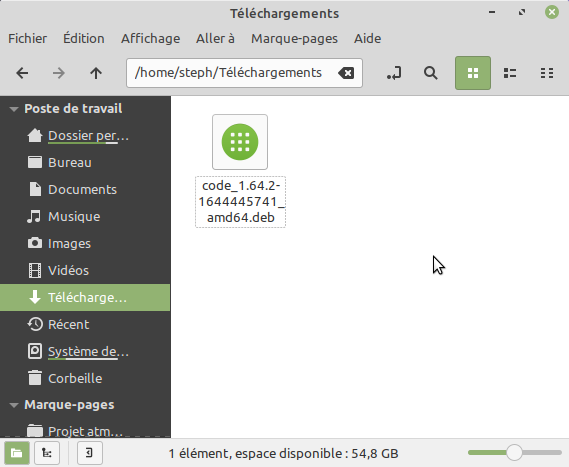
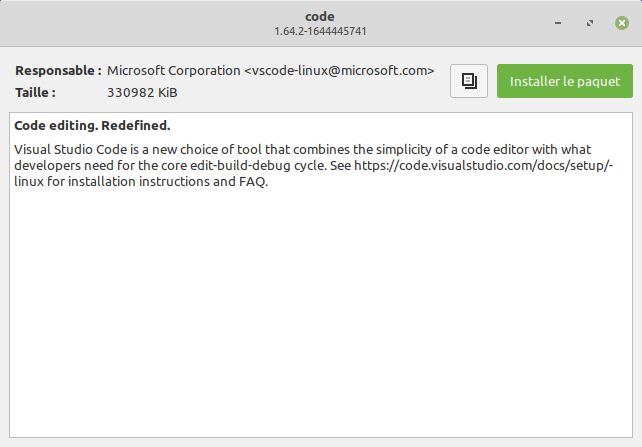
Download Visual Studio Code from the download page and install it on your system:

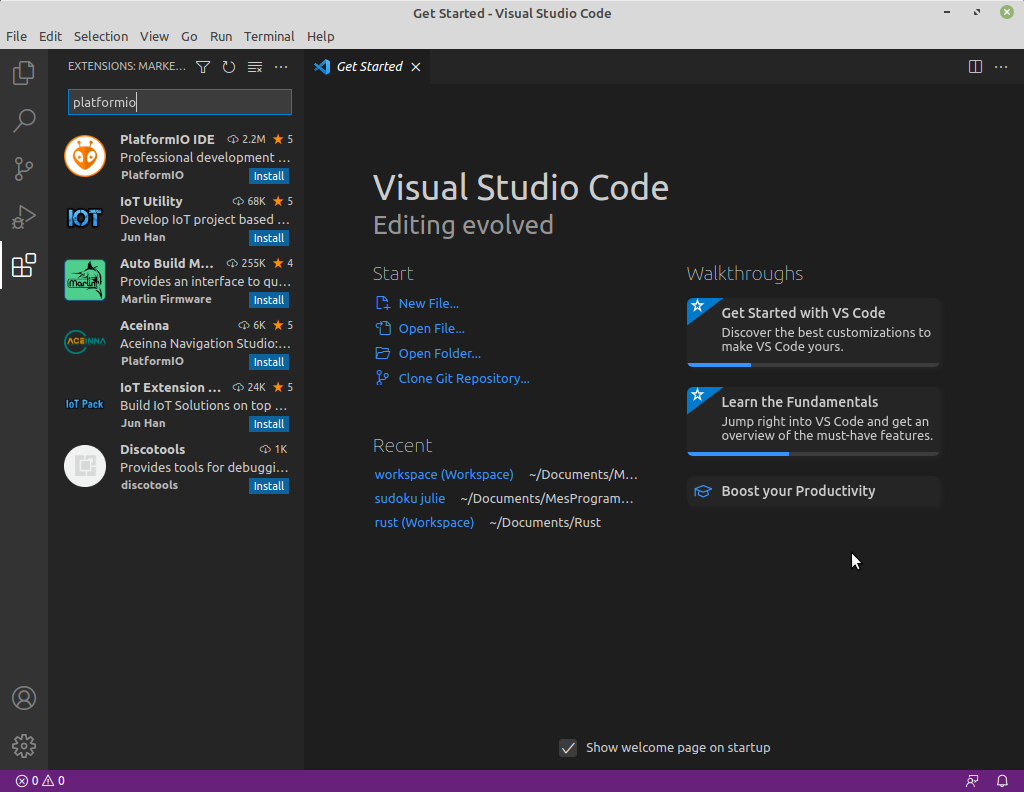
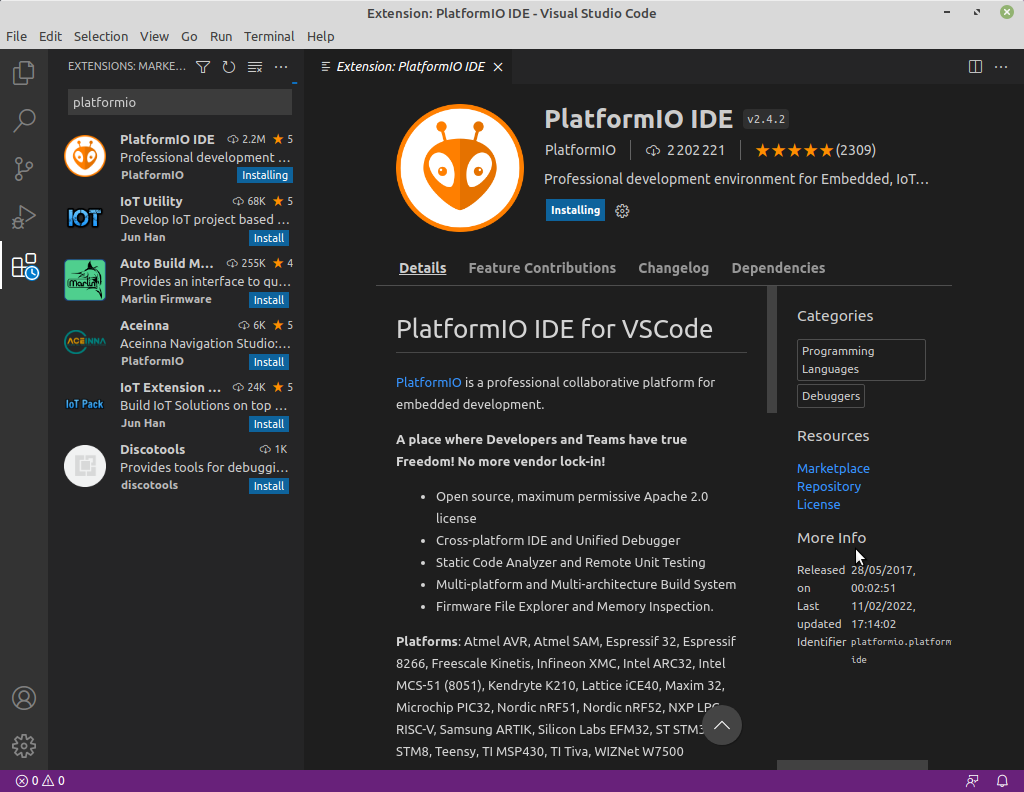
Launch Visual Studio Code and install the PlatformIO IDE extension:
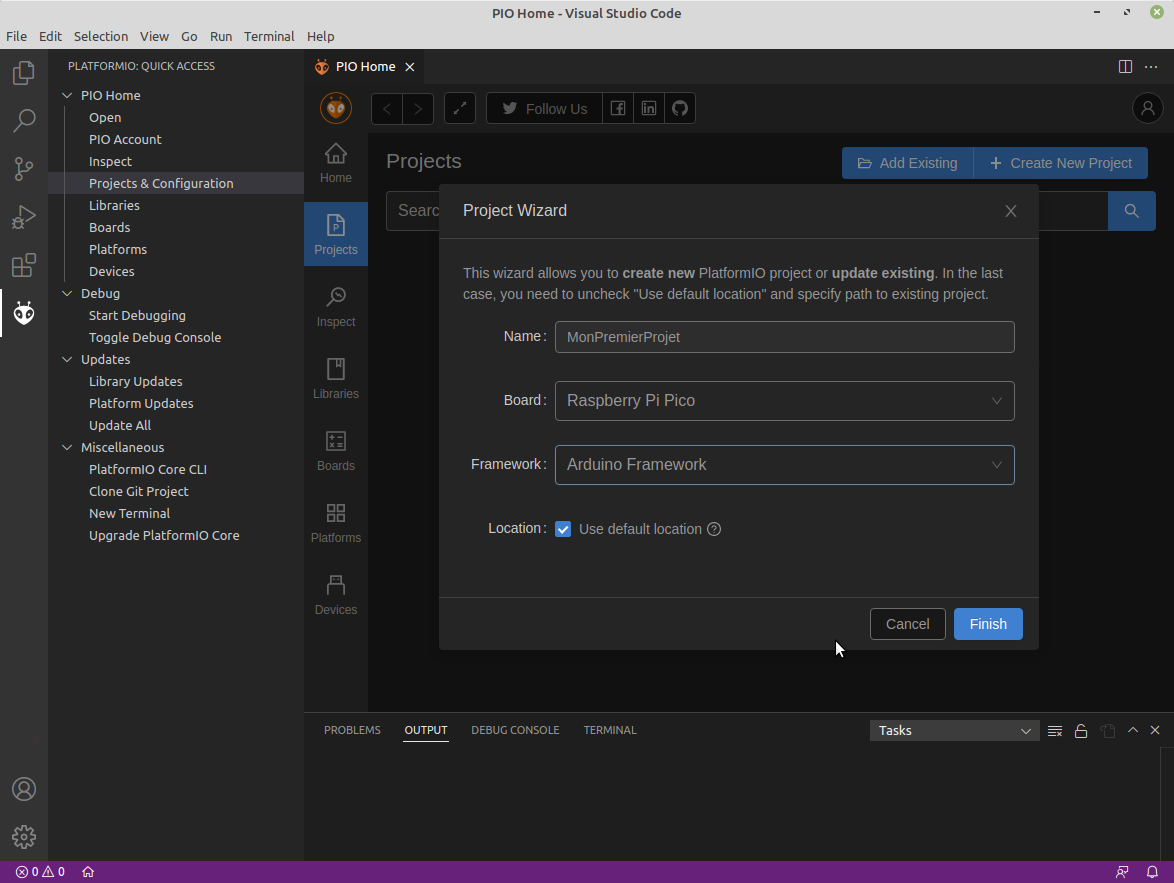
Create your PlatformIO project, by clicking on the PlatformIO IDE icon on the left. You must select the “Raspberry Pi Pico” board and the “Arduino Framework” framework.
You can then create your first program by putting for example the following code in the “main.cpp” file:
// Clignotement de LED du Raspberry Pi Pico
// https://tutoduino.fr/
// Copyleft 2020

#include "Arduino.h"

void setup() {
  // Declare la broche sur laquelle la LED est
  // reliee comme une sortie
  pinMode(LED_BUILTIN, OUTPUT);
}

void loop() {
  // Passer le sortie à l'état HAUT pour allumer la LED
  digitalWrite(LED_BUILTIN, HIGH);

  // Attendre 1 seconde, pendant ce temps la LED reste allumee
  delay(1000);

  // Passer le sortie à l'état BAS pour eteindre la LED
  digitalWrite(LED_BUILTIN, LOW);

  // Attendre 1 seconde, pendant ce temps la LED reste donc éteinte
  delay(1000);
}
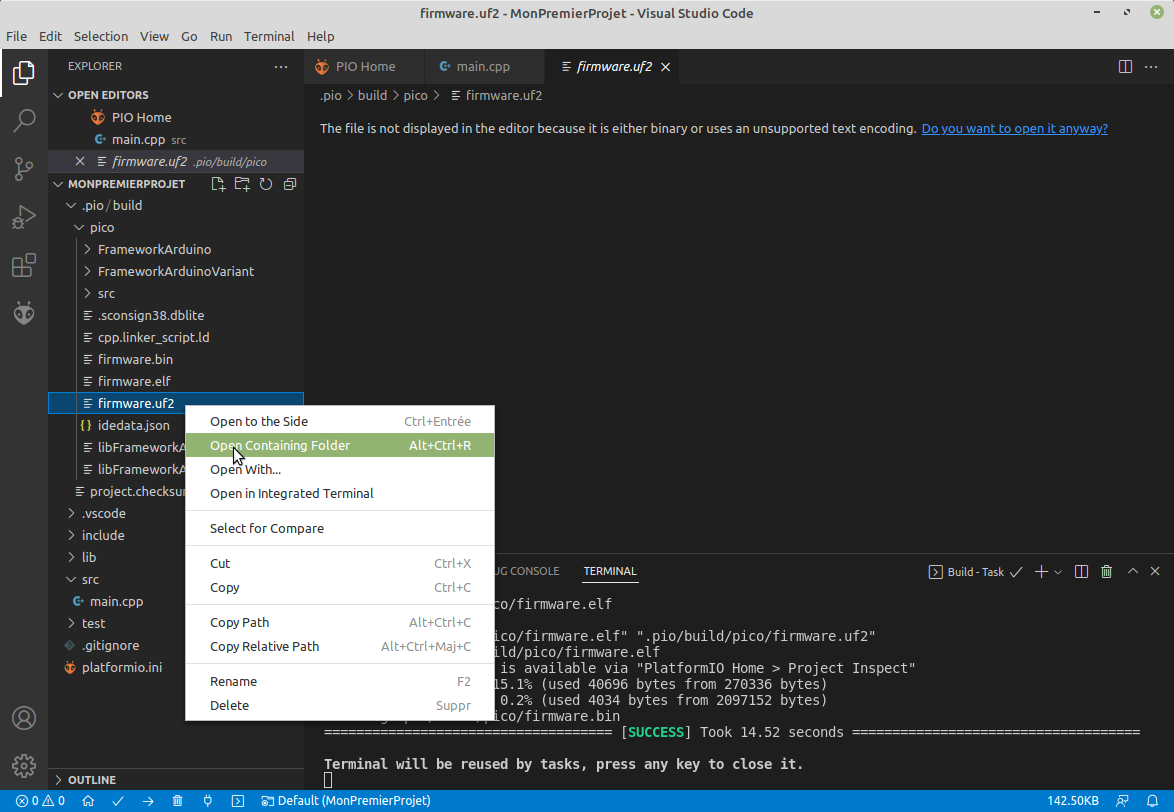
Then simply compile this program by clicking on the “Build” icon :

First upload of the program on the Raspberry Pi Pico
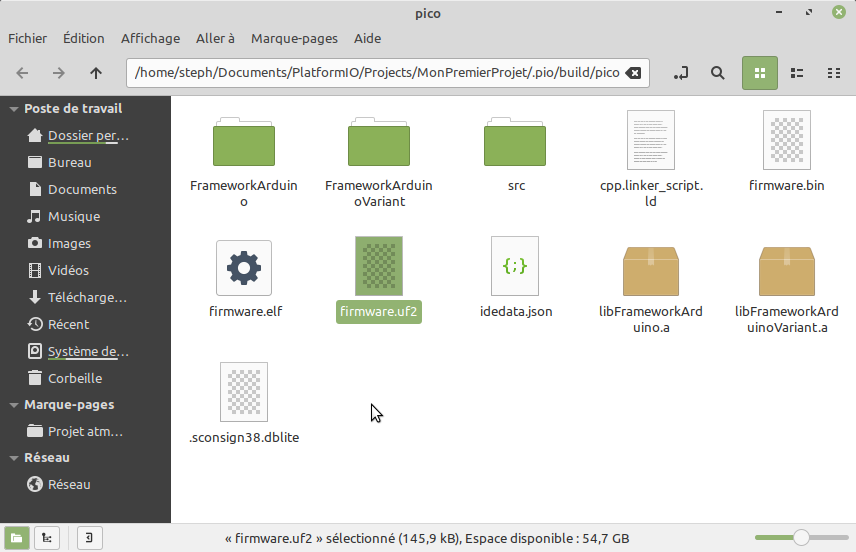
The compilation generates the binary file of your program in UF2 format. The UF2 format is intended for flashing a microcontroller connected as USB mass storage on your PC. This file named “firmware.uf2” is located in the directory “PlatformIO/Projects/MonPremierProjet/.pio/build/pico”. Just drag and drop it on the USB device corresponding to the Raspberry Pi Pico.
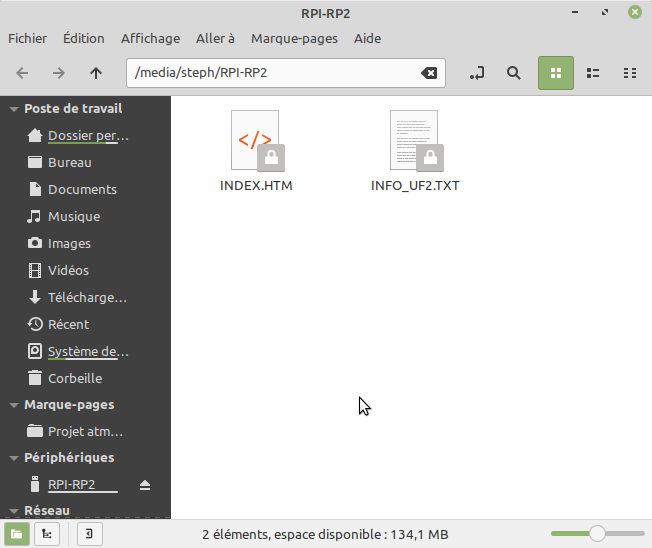
Once the program is copied to the Raspberry Pi Pico, it runs immediately. The Raspberry Pi Pico LED should be flashing.
From this moment the Raspberry Pi Pico no longer appears as a USB mass storage. If you want to upload a new program this way, you will have to start it in “bootloader” mode. To do this, you must disconnect the USB cable, hold the “reset” button pressed and reconnect the USB cable.
Next uploads
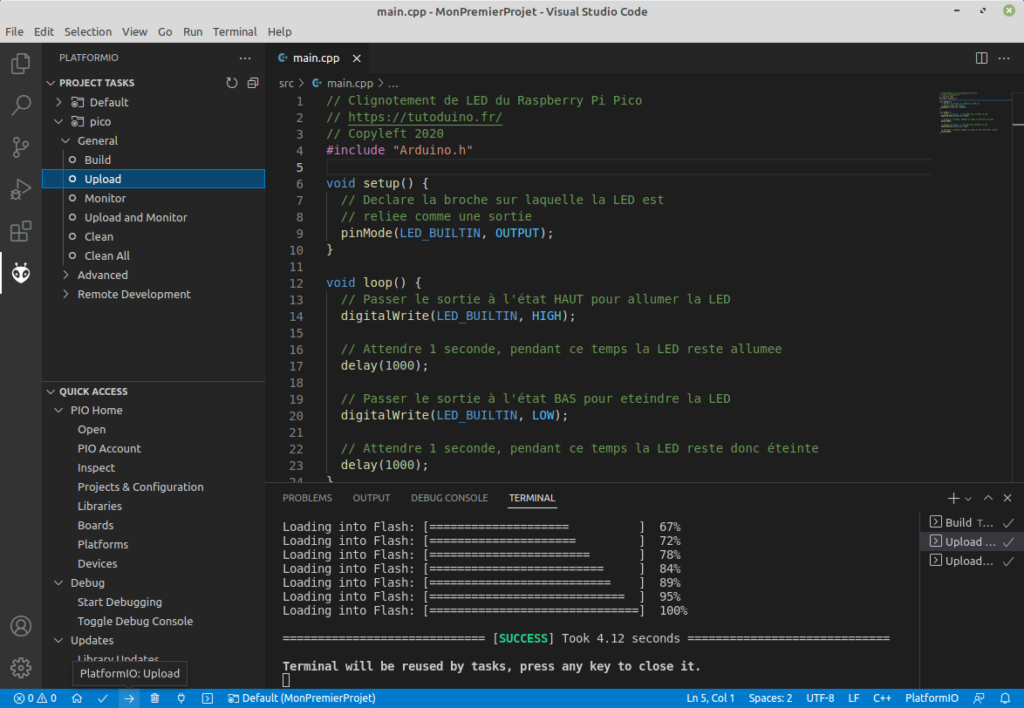
Once the first upload has been done following the method above, it is possible to upload your programs directly from the PlatformIO IDE. Simply click on the “Upload” command in the “Project Tasks” menu of PlatformIO or on the “Upload” button in the blue banner at the bottom of the editor.
Note: On Linux, you must first install the PlatformIO permission rules for the USB ports, by typing the following command in a shell:
curl -fsSL https://raw.githubusercontent.com/platformio/platformio-core/master/scripts/99-platformio-udev.rules | sudo tee /etc/udev/rules.d/99-platformio-udev.rules
Subsequent uploads will open the Flash drive and not jsut upload directly. Something’s wrong